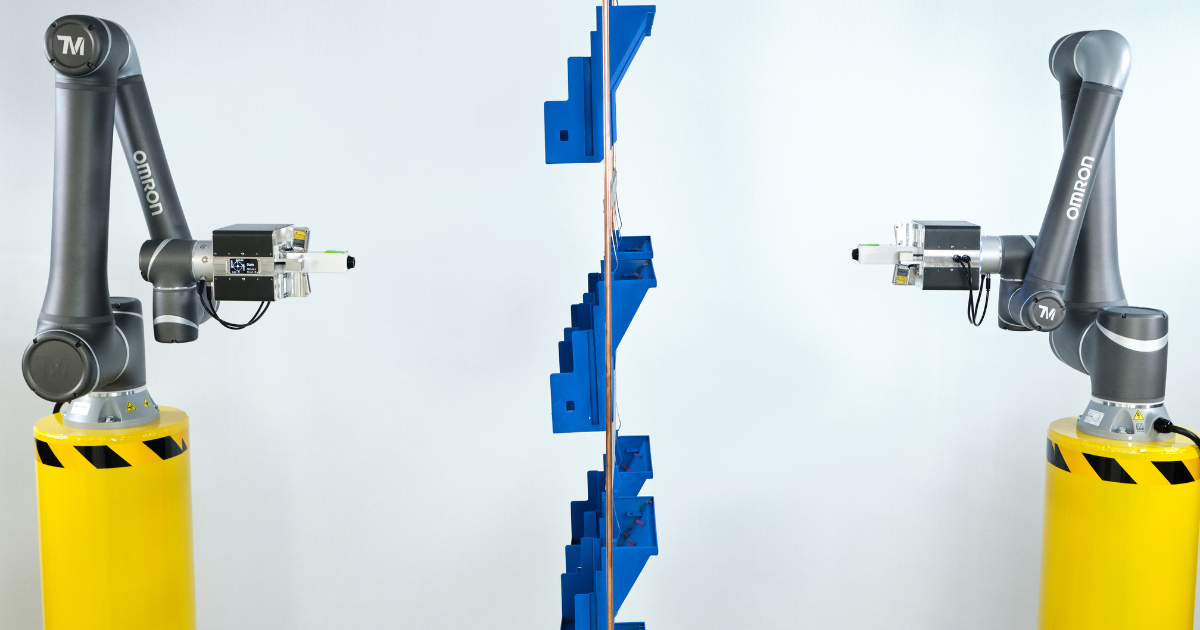
Application of automated processes to series production is an increasingly frequent topic across all industrial sectors. Emphasis is placed on quality of products, efficiency and savings at production. The ITS company as one of the market leaders in the field of surface treatment brings a quite innovative element onto the market, which is automated contactless measurement of paint thickness before curing.
The principle of the HiVision DeepControl system is measuring of thickness of applied powder layer just after application before curing. If thickness and evenness of paint is assessed after curing, there is, in fact, zero possibility for correction. To be more precise, such correction can be applied with a significant delay when tens or hundreds of pieces have often been painted and cured already, and frequently even through trial and error. Rejects made this way need to be taken out of production or cured paint needs to be removed and entire process, including pre-treatment, repeated. In both cases, the operating and product costs increase by tens of percent. When the quality parameters are assessed before curing, the risk of rejects is fully eliminated. Powder paint has not been polymerized yet and getting the product back at the beginning of painting process does not cause significant additional costs. The aim of the project is to ensure as low consumption of paint as possible while maintaining required uniform thickness and quality of the paint all over the product surface. Measured data, however, must be evaluated under full operational condition of the paint shop and with a feedback in the form of corrections of the operating parameters of application technology.
Savings can amount to up to 20% of the costs of paints
Savings that can be achieved by implementing the HiVision DeepControl technology can represent up to 20% of the costs of powder paint. Depending on production capacity, even millions per year can be concerned. For example, with initial parameters of an operation that paints 250 000 m2 per year and exceeding the paint layer by 20 µm, which is, in fact, often much more, the difference in used paint can be 7 000 kg/year. In case the price of paint is CZK 200/kg, it means unnecessary expense at the amount of CZK 1 400 000. As we pick up the products with wrong paint at the beginning of the painting process, no delays in production occur and delivery terms are complied with; this results in further savings and continuity of the operation.

Newly developed software is very accurate
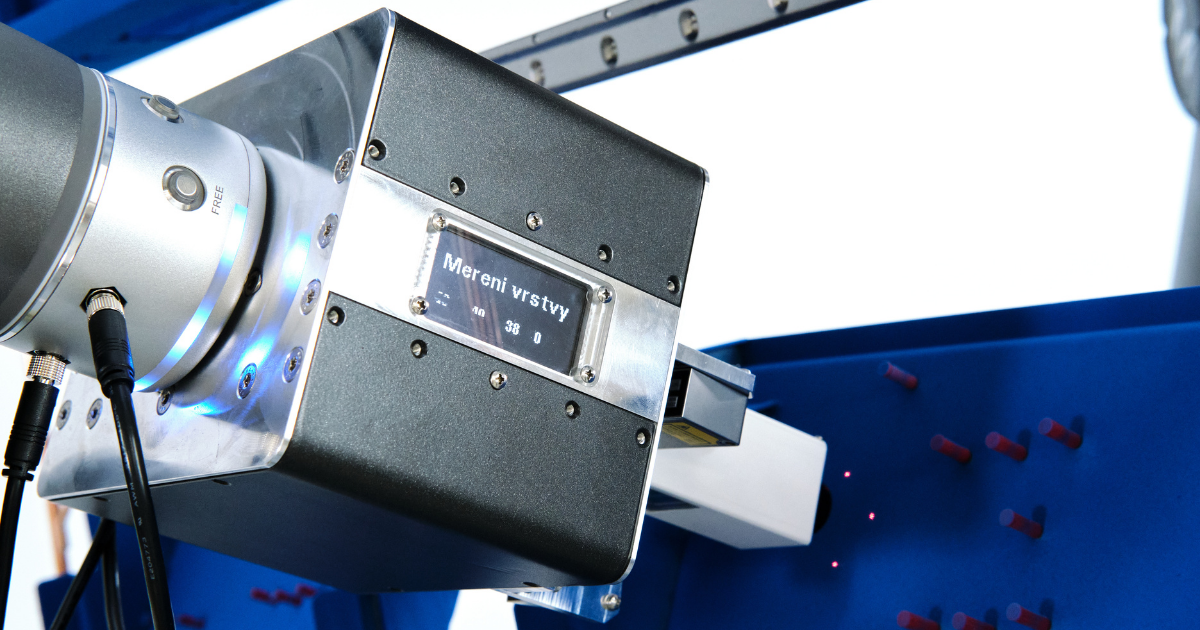
The whole process of measurement, assessment and correction is quite sophisticated. Measurement of the paint layer is very accurate with maximum deviation of +/- 5 µm, which is the threshold of current technical possibilities. It is, of course, contactless because uncured paint is measured and any touch would degrade the surface treatment. With regard to these two contrary requirements - when accuracy of measurement is required on one side and impossible contact with the surface layer on the other side - the whole system needed to be automated.
“Since the beginning we have been aware that we can fulfil such assignment solely using a robot because persons cannot, as a matter of principle, ensure such level of accuracy and repeatability.” Martin Šátek, development team leader, says.
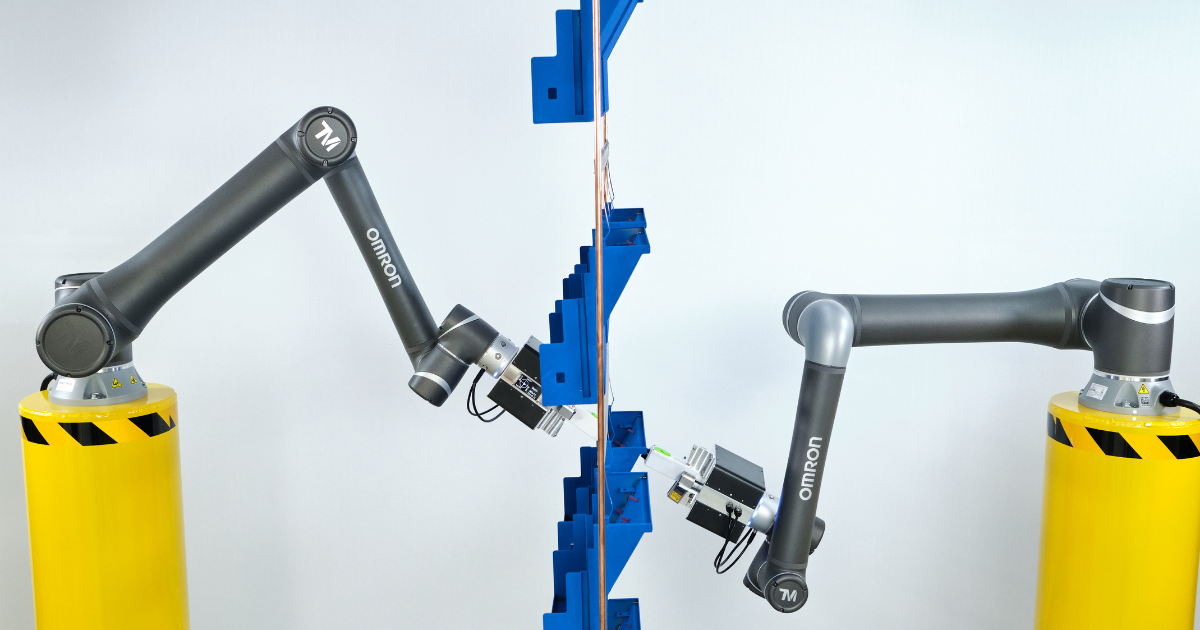
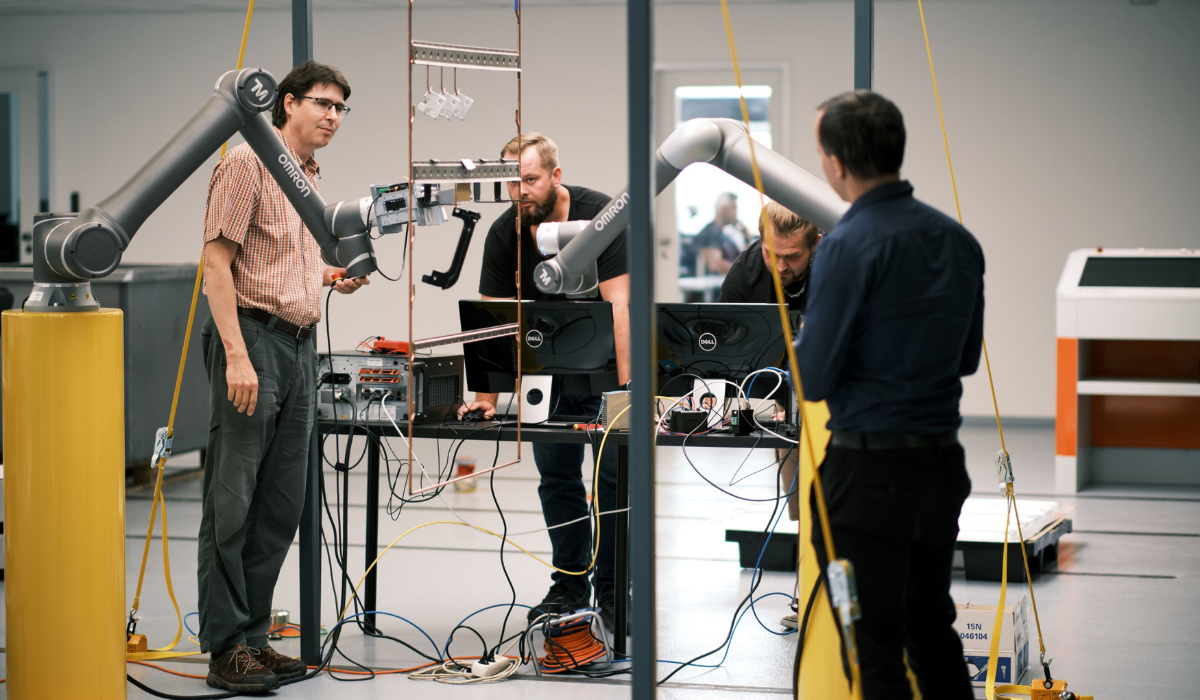
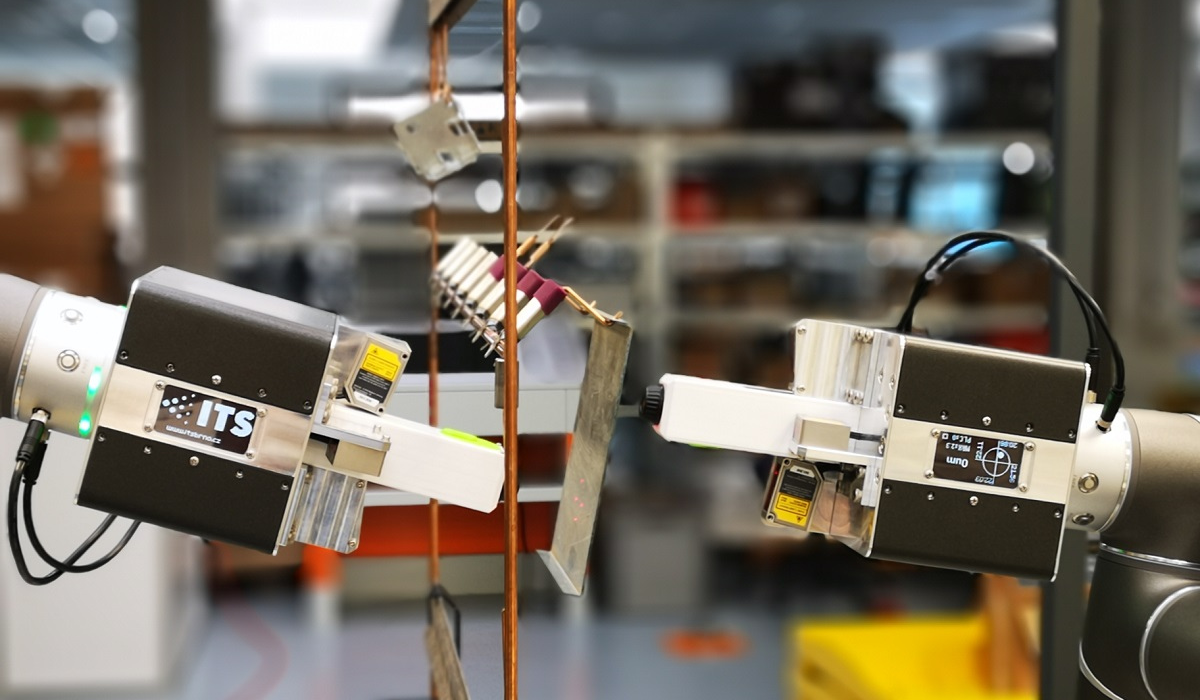
The development personnel together with the programmers utilized the hardware components available in the market that they managed to connect appropriately and interconnect with their own developed software, which is the collaborative robot with a measuring head manufactured at ITS. Robot accurately guides the sensors into required position and distance towards the product, which ensures high accuracy of repeating and level of certainty of the entire process. After certain quantity of products are measured, statistical evaluation in individual points is performed, software then works with such data and assesses, using special algorithms, whether corrections in powder paint application are required. Based on assessment of all data and calculations, the system sends information with requirements directly to the painting booth where parameters of paint guns are adjusted. So the whole circle is closed and further measurements and further correction can be done in a certain cycle depending on the change of input conditions.
Contactless measurement was a puzzle
The developer had to take many circumstances and parameters, for example the scope of measurements, into consideration. During development they found out that measurement of a layer thicker than 100 µm is not reliable. That is why the scope of measurements has been limited from 20 to 100 µm so far. Fortunately, vast majority of painted surfaces are covered. Paint thickness after curing is meant by measurement of paint thickness because powder paint before polymerization indicates different values. Also not to include the existing underlay, for example zinc or KTL foundation, in the measurements. All of these had to be tested and verified by the developers.
The system allows even for changes of input conditions
A change of input parameters in powder painting can be caused, for example, by the paint bin that is being emptied during the process of painting or by wear and tear of the device for feeding powder or by the ratio of recycled and new paint in the bin. Therefore measurements need to be periodically repeated as well as adjustments continuously performed during painting.
Complexity of product shape or its size are in the category of invariables. Product shape is given from the very beginning. Here the following applies: the simpler shape of the product is, the faster measurement is done. For complicated shapes it is appropriate to find a suitable flat surface of the diameter of at least 30 mm. This, however, is not a problem because the robotic arm has a large scope of motion and, in addition, the measuring head can reliably work with a deviation of up to +/-15˚ in all directions. This allows for measuring to be performed not only in complicated, as for shape, products but also inside complex products. Switch cabinet can be a good example. Measurements on control panels hanging next to a line of products are more relevant in small parts.
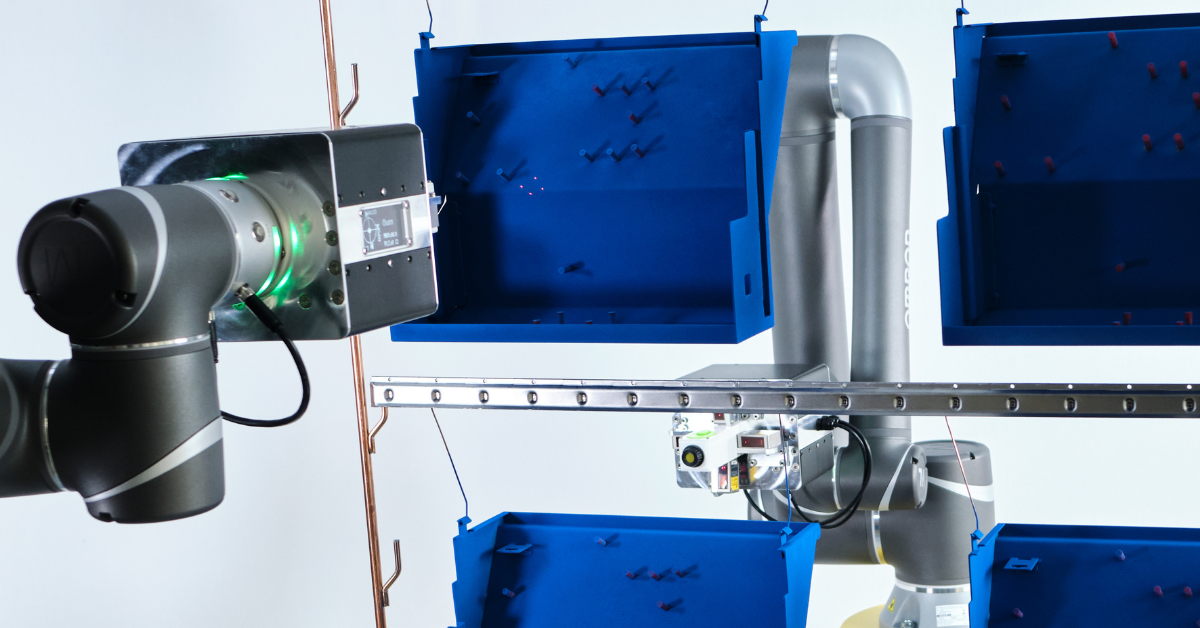
The technology can also assess the information in a line of products hanging on the panels
Products can be hung up on the conveyor in an arbitrary way, however, it is important that they do not significantly move while being measured. Thanks to automated correction of sensor position, each product with an error of hang-up not exceeding, as already mentioned, 15˚ in any direction will be assessed correctly. Based on the sensor data, the system subsequently automatically corrects the position. But if an error of hang-up is more significant, system skips measurement and continues with analysis in the following product. Thus possible error rate in measurements is eliminated to a considerable extent.
System, can correct even much larger angle but a wrongly hung up product is not relevant in terms of process stability. It means that it is not right to correct the painting setting for a product with, for example, 45° error because such product is not ideally painted. On the contrary, the technologist needs to learn about complications with stability of hanging, when he can work on optimizing of the process in connection with our division of hanging technology.
Simulation is used in the process of measurements
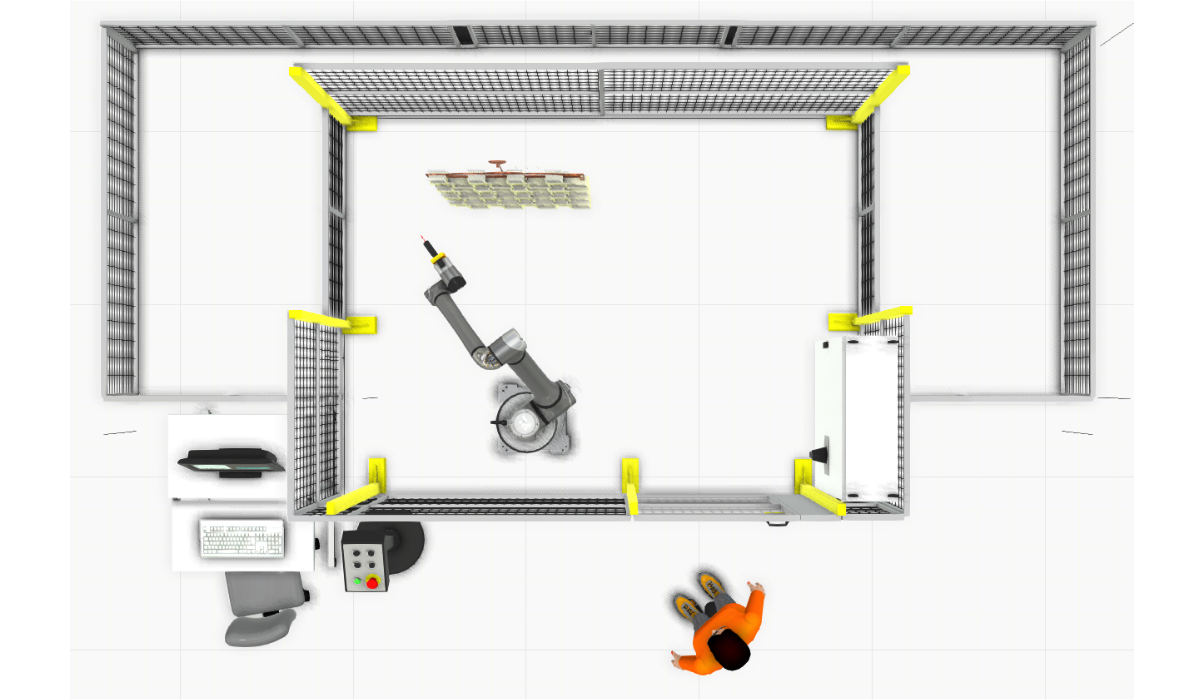
Before the project implementation, 3D simulation is used to verify the fact whether measurement can be performed correctly on given product, or whether robot can reach the required point of measurement. Thereby, it is certain from the very beginning that the entire system will work reliably.
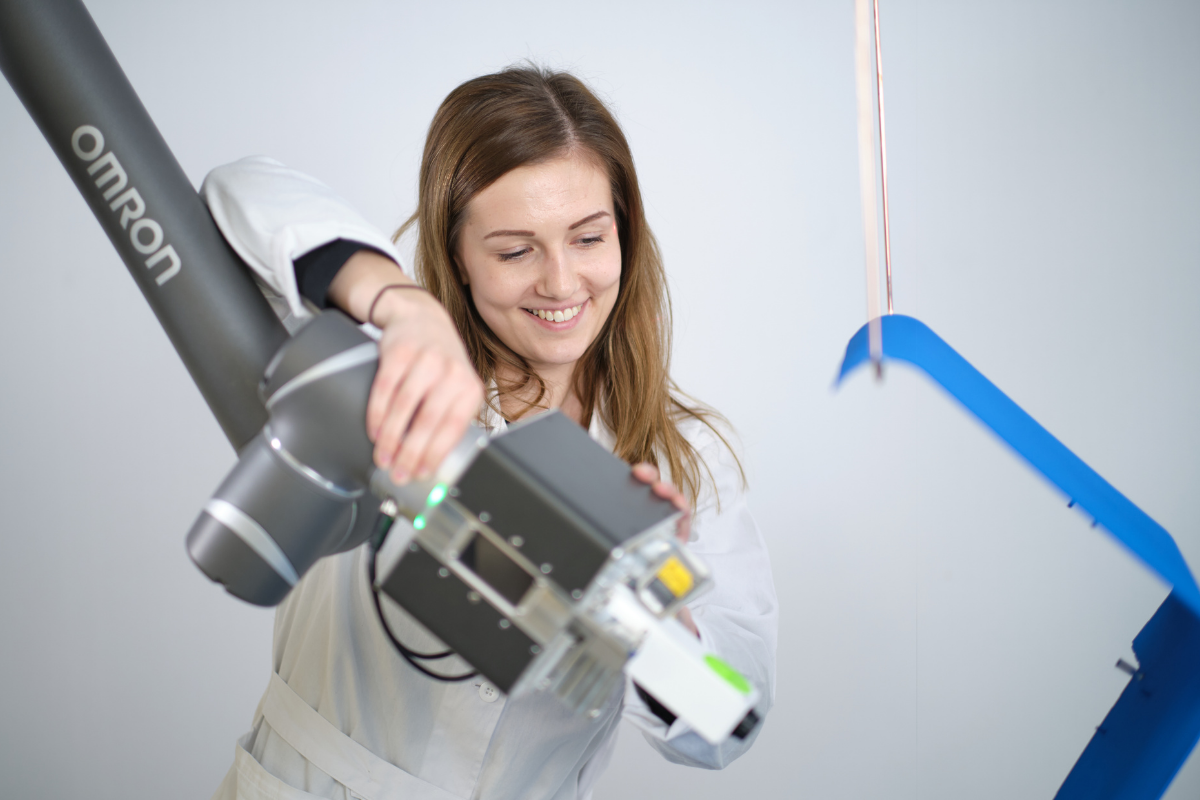
Operating is easy after training
Measurement is fully autonomous and is not preceded by any complicated programing as, for example, in camera systems. If implementation lasts for weeks or months, investment costs of operating staff would rapidly grow. Solution is simple, the only thing that operators must do is to manually place the robot into individual positions. No programming, no high-level robotics. After a short training, regular operators can manage it as well as PC user work easily. So the time of programming the positions for a new product lasts for tens of minutes. Implementation in connection with automatic adjustment of parameters at application of paint is a more demanding task that, however, depends on many parameters, for example on the type of application technology, control system and its capacity, age, manufacturer and other circumstances that can influence the time of implementation in connection with correction of application technology.
The pilot project is running, implementation of the new technology at customer's site is planned at the beginning of 2021.
